

This fun project can take on whatever look you want to put to it. Whether you use a marbled design or one of more solid colors, everyone will have a blast putting them together.
What you will need:
- No-bake modeling clay: Red, yellow, blue are the basics but this comes in a variety of colors
- Wooden skewers
- Clear crafting lace
Instructions for the project-
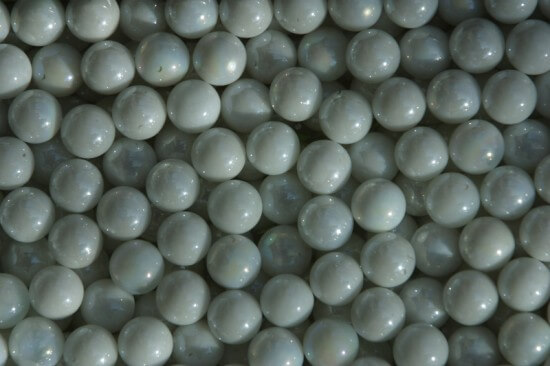
Pinch off small pieces of modeling clay using one pinch from each color. Start with the two different colors and knead the together long enough for them to form a marbled effect. Once you have the desired effect, roll the clay in your hands into a ball. Slide the clay ball on to a wooden skewer, twisting as you go to create the hole in the bead. Repeat this entire process for as many beads and as many color combinations as you like. Let the beads dry on the skewer; it is important that they are spaced enough apart so that they are not touching each other. You can remove them from the skewer when they are completely dry, about 3-4 hours, and thread onto crafting lace. Tie and wear!
Tips:
Small items like wiggle eyes, mini beads, sequins, etc can be added to the beads right after threading onto the skewer and will stay in after they have dried.